


Industrial Embroidery · Buyer Checklist
How to Identify Embroidery Machine Parts Before Ordering
· Machine maintenance and sourcing
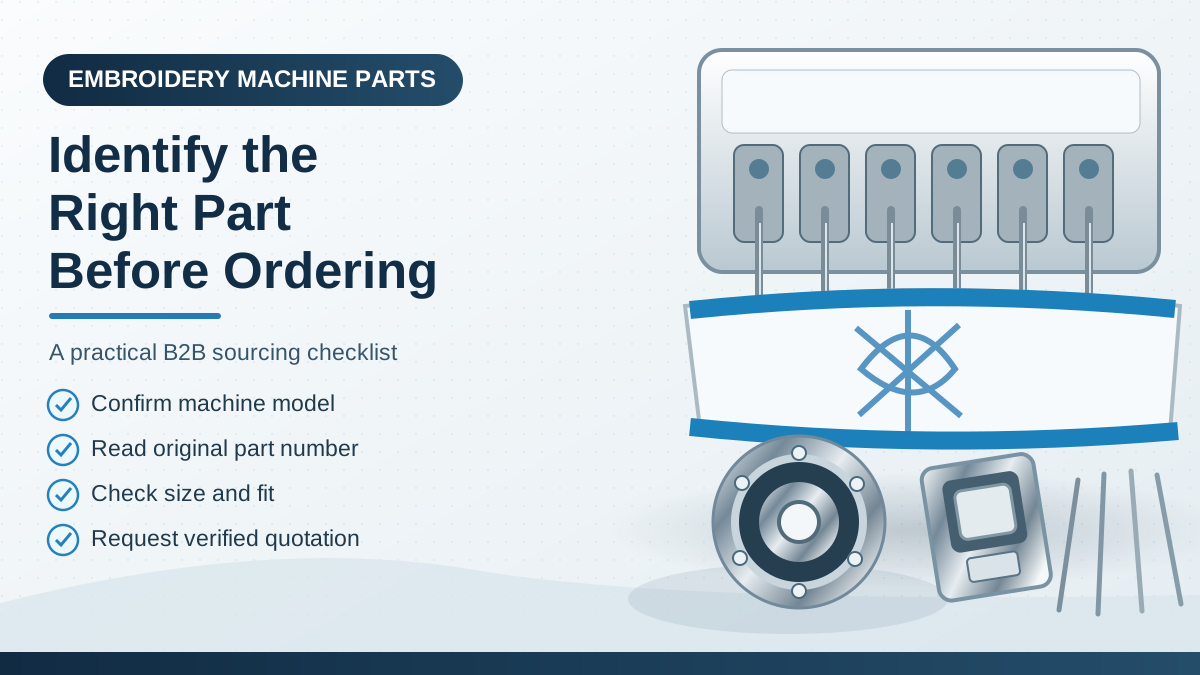
Embroidery machine parts can share a similar appearance while using different dimensions, mounting points or needle systems. Ordering a replacement from a photograph alone may lead to the wrong component, avoidable downtime and extra shipping costs. A reliable buying request starts with machine identification and ends with written compatibility confirmation.
1. Start with the full machine identity
Record the manufacturer, model, series, and any revision or serial number available on the machine plate. “Tajima embroidery machine” or “Juki sewing machine” is rarely specific enough. Different production years and machine configurations can require different parts even within the same family. If the serial plate is hard to read, take a sharp photograph and include the control-panel model designation.
For multi-head embroidery equipment, note which head has the problem. The head number, part location and type of fault help the technician understand whether the requirement is a general consumable or a position-specific repair. Use the Tajima TFMX machine guide as a starting point for a model-specific inquiry, not as a substitute for verifying the actual machine.
2. Search for the original part number
Look for markings on the old part, the original packaging, an exploded-view diagram or the manufacturer’s service documentation. Record hyphens, letters and revision suffixes exactly. A supplier can compare an original code with available replacement options; a generic description such as “bobbin case” does not identify its geometry or fit.
If the code is missing, describe the part’s location, purpose, shape and any visible manufacturer marks. Avoid assigning a part number based on an image search result. Product photos are useful for narrowing the search, but the final compatibility decision must consider measurements and documentation.
3. Photograph both the part and its mounting point
Good photos reduce the number of clarification messages. Use daylight or bright, diffuse lighting and a plain background. Capture the front, back and side of the component, with the engraved reference in focus. Include one photograph showing where it fits on the machine. Where dimensional differences matter, place a ruler beside the item without covering the mounting features.
For rotary hooks and bobbin cases, show the assembly and any identifying marks. For tension units, photograph the complete assembly before dismantling. For a belt, identify the printed code and tooth profile, not only the approximate length. If the part is cracked, capture the damaged area as well as an undamaged reference surface.
4. Verify needles by system as well as size
Needle size alone does not establish compatibility. The needle system specifies properties including shank, length and geometry. Commercial embroidery needles and home-sewing needles are not interchangeable simply because both packages display a size such as 75/11. Compare the machine manual, existing needle packaging and the proposed needle system before purchasing.
The fabric, thread construction, embroidery density and machine setup also affect needle selection. Before a bulk order, trial the recommended needle and thread combination on a small sample. A technician should assess persistent needle strikes or thread breaks rather than treating a larger needle as a universal repair.
5. Distinguish spare parts from consumables
Rotary hooks, sensors, tension assemblies and drive components should appear in the repair section of your request. Needles, bobbins and polyester embroidery thread belong in a replenishment section. Record the material or thread specification and shade code separately from hardware references.
For multiple workshops, identify which quantities belong to each site. “50 needles” might mean five packets of ten, 50 individual pieces or an assortment of sizes. State the packaging requirement explicitly. If an alternative brand is acceptable, say so and request confirmation of technical equivalence before placing an order.
6. Request a complete quotation, not a price alone
Send a list containing the manufacturer, machine model, original part reference, requested quantity, preferred brand and destination. Ask whether the item is available, whether the quotation covers original or compatible replacement components, and which additional measurements are needed. Confirm unit pricing, packing quantity, shipping charges and the validity period of the quotation.
International buyers should provide the full receiving address and postal code so the seller can evaluate shipment options. Customs duties and actual delivery windows depend on the destination and order details; do not assume fixed transit times from general promotional wording. If a component is urgent, distinguish it from stock replenishment so the supplier can quote alternatives accordingly.
7. Keep a repeat-order reference
Once the correct part is approved, keep the invoice reference, machine model, supplier part number, photos and the result of the installation check. This creates a practical internal parts register for future orders and reduces the risk of repeating a compatibility mistake. For fabric and thread purchases, retain the exact product line, count, shade code and sample swatch used for production approval.
A repeatable sourcing process helps both a single machine operator and a distributor handling several embroidery workshops. Use the embroidery spare parts catalogue to compare categories, then submit the verified references through the quotation form.
Popular part-identification topics
Searching for embroidery machine needles, a compatible embroidery bobbin case or a rotary hook for an embroidery machine? Each requires a model-specific check. For Tajima embroidery machine parts, include the machine series, part number and photos. For needle replacement, verify the exact needle system and size rather than relying on the size alone.
Part identification checklist
- Machine maker, complete model, serial and head number when relevant
- Original part number, visible markings and dimensional photos
- Expected quantity and whether original or compatible parts are acceptable
- Business receiving address, postal code and delivery instructions
- Written compatibility, availability and shipping confirmation
Related resources
- Embroidery machine spare parts
- Tajima TFMX parts guide
- Polyester embroidery thread
- Identify a part by photo